

Installation Guidelines
Installation Guidelines
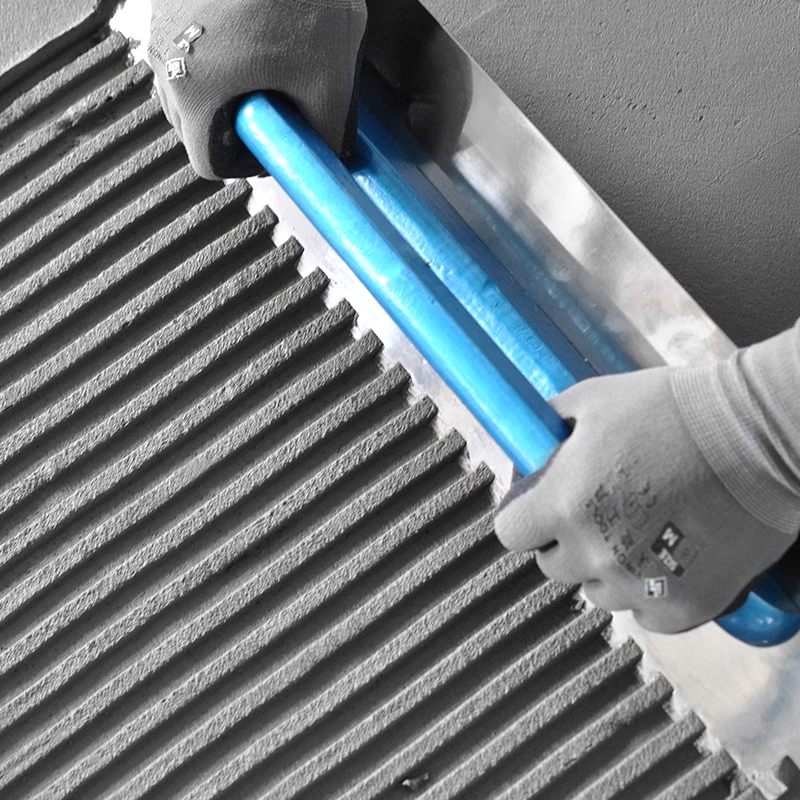
Installation Guidelines 1、Prepare the substrate according to construction standards, thenalign tiles using reference lines to ensure flat surfaces and straightgrout joints. 2、Do NOT use tight-joint installation.Maintain 1.5–3mm gaps between tiles, preferably usingplastic spacers. 3、For floor tiles, use the mortar-bedding method toprevent hollowing. 4、Confirm tile pattern orientation with installers beforehand fordirectional-textured products. 5、Clean tile surfaces promptly during and after installation. Usesoft cloths and mild cleaners. Prohibit sulfuric acid, oxalicacid, or hydrofluoric acid. 6、Adjust installation speed based on local climate and adhesivecuring rates to avoid tile detachment. 7、Avoid striking tiles with sharp/hard tools. Clean tile surfacesand grout lines within 5 minutes post-installation. 8、Apply waterproofing before grouting to prevent hollowing fromliquid penetration. 9、Wait 24 hours before walking on installed tiles. Protect surfaces with professional floor film(PU/fleece-backed) to avoid scratches or contamination from paints,sealants, or adhesives. Remove protection only after all furnishings areinstalled. Prevent iron rust stains. 10、For wall installation of low water-absorption tiles, use tileadhesive + backing adhesive. Roughen bathroom wall surfaces to enhanceadhesion and prevent hollowing/detachment. 11、Mark water/electric lines on wall tiles post-installation toavoid damaging pipes/wires during fixture mounting. | 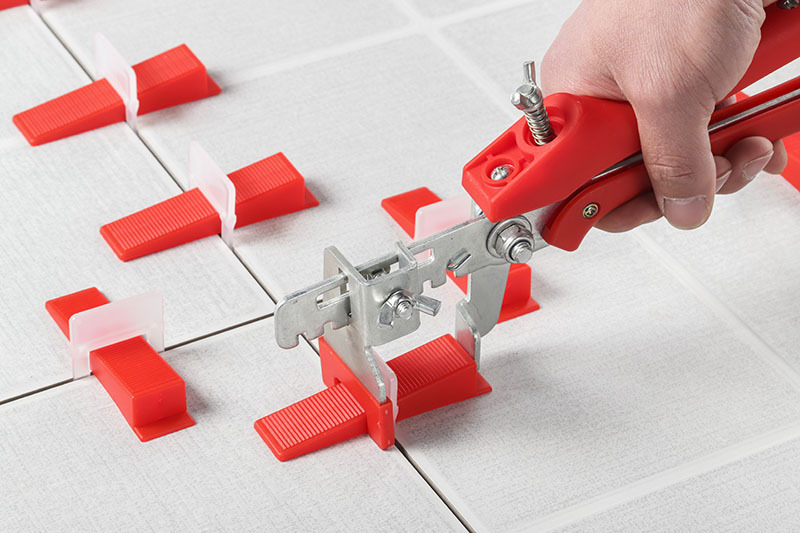
|

Phone
+86 0757-8252 3367 |
|